Block paving is one of the most common driveway surfaces across Bath and Bristol, and pressure washing questions are among the most frequent we get asked. The concern is legitimate: used at the wrong pressure, with the wrong equipment, or without re-sanding afterwards, jet washing can leave a driveway in worse condition than before.
But used correctly, pressure washing is the single most effective way to clean block paving — and nothing else comes close.
The Short Answer
Pressure washing does not damage block paving when done correctly. It does cause damage when:
- A lance is used instead of a rotary surface cleaner
- Pressure is too high or held too close to the surface
- Jointing sand is not replaced after cleaning
Understanding these three points covers most of what goes wrong.
Lance vs. Surface Cleaner
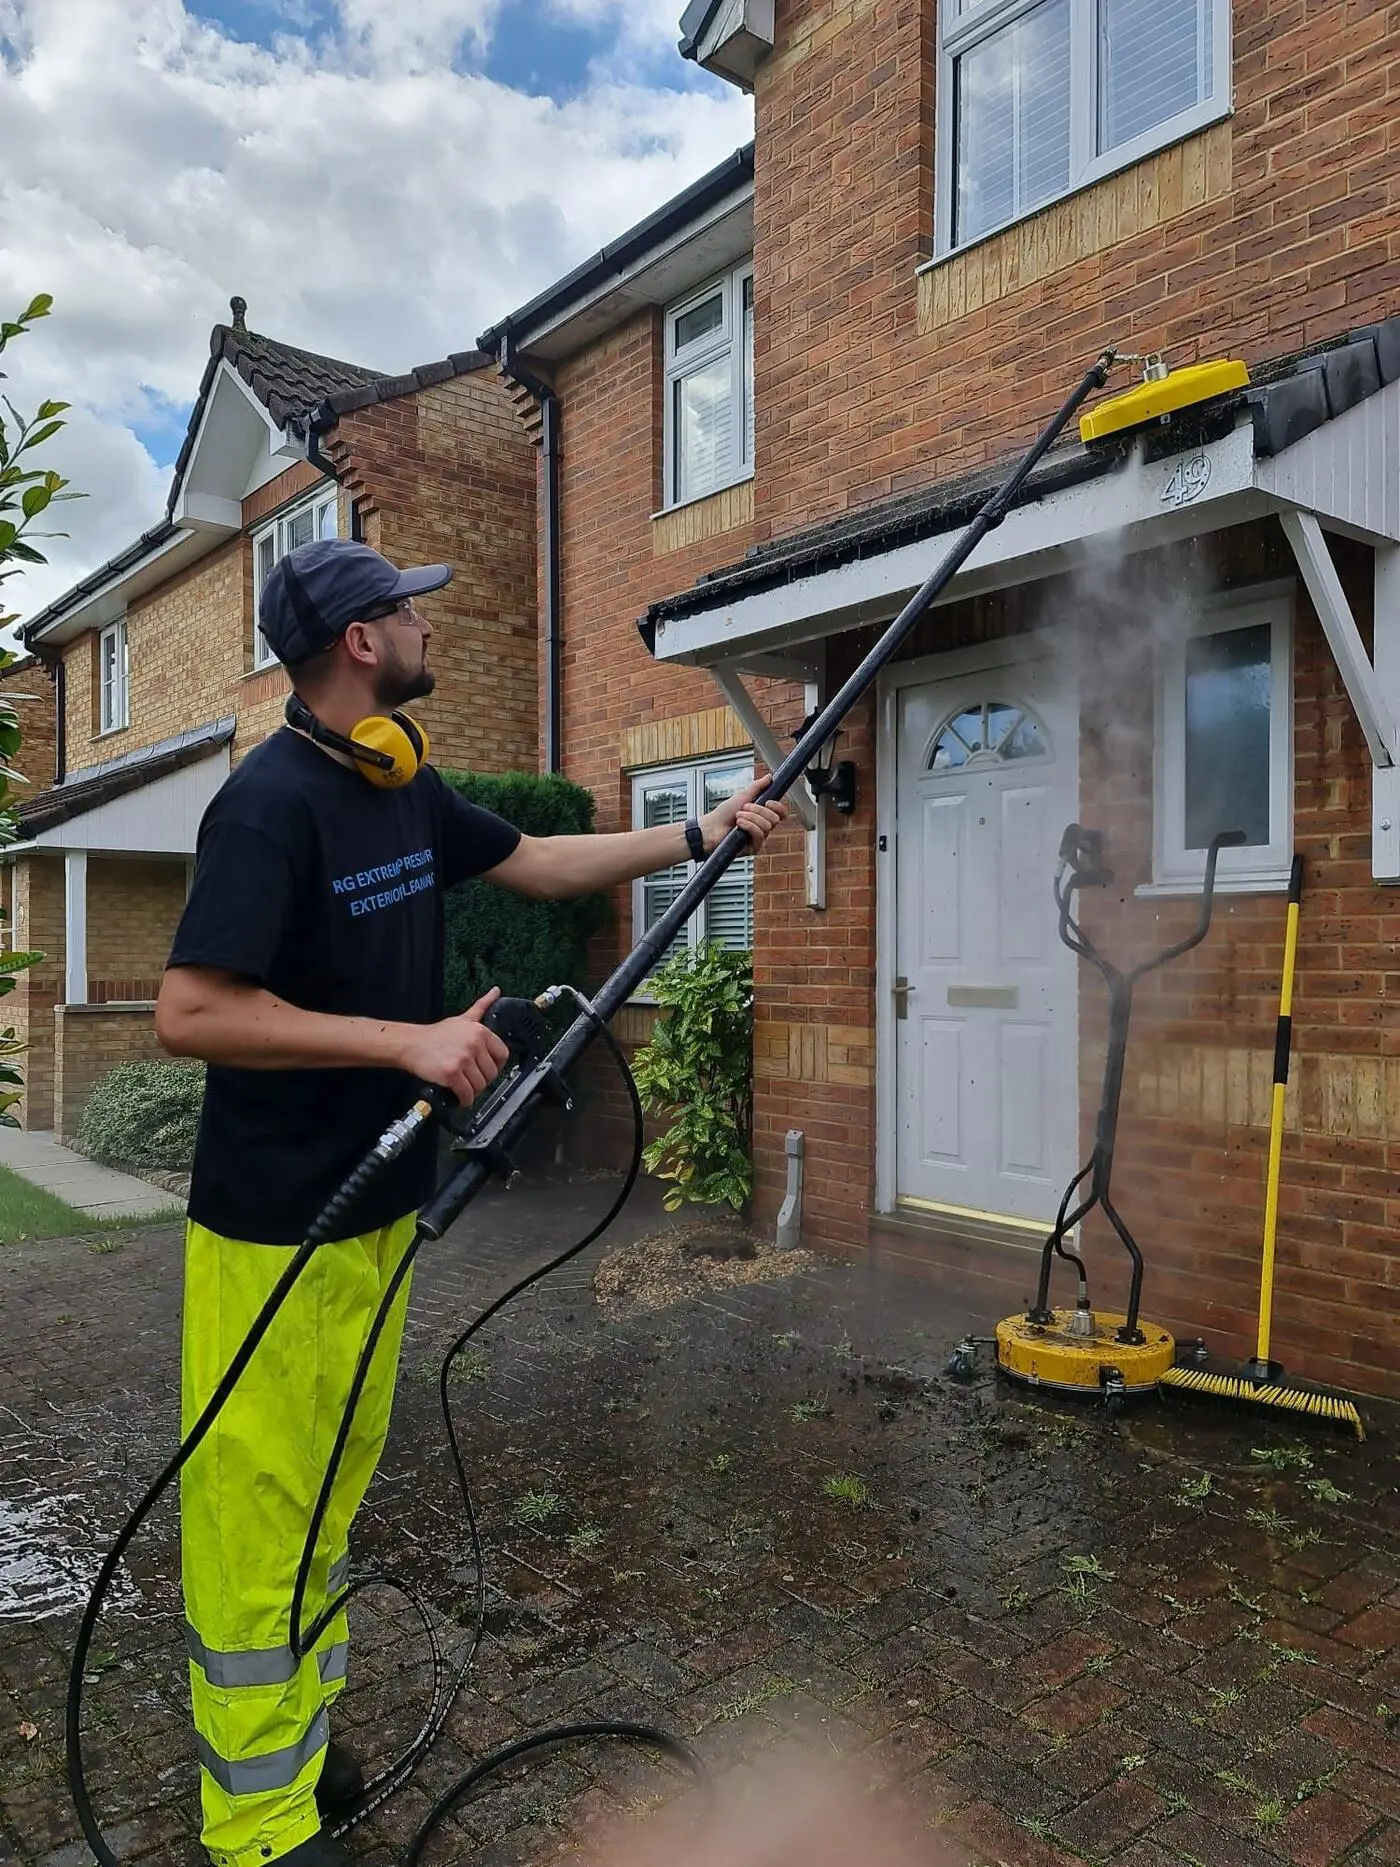
This is the biggest variable. A pressure washer lance concentrates the full force of the jet onto a narrow strip of surface. Dragged across block paving, it removes jointing sand unevenly, can etch the face of softer blocks, and leaves visible streak marks — lighter strips where the jet tracked across the paving.
A rotary surface cleaner (the disc-shaped attachment you’ve probably seen used on driveways) distributes the same pressure across a spinning head, cleaning evenly without the lance’s concentrated impact. The result is consistent cleaning without streaking and significantly less displacement of jointing sand.
Reputable pressure washing contractors use rotary surface cleaners. If someone turns up to clean your block paving with only a lance, they’re doing it wrong.
Jointing Sand: The Part Most People Miss
Block paving relies on kiln-dried sand in the joints to keep the blocks interlocked and stable. Any form of pressure washing displaces some of this sand — it’s unavoidable. The sand gets washed out of the joints and either sits on the surface or goes down the drain.
If you don’t replace the jointing sand after cleaning, you’re left with open, hollow joints. Blocks start to shift and rock. Water penetrates more easily, which accelerates moss growth and, over time, can cause subsidence in the laying bed underneath.
Re-sanding after cleaning is not optional. It’s the step that determines whether your block paving is structurally maintained or gradually degraded by repeated cleaning. Kiln-dried jointing sand is brushed into the dry joints and compacted — the whole process adds 30–45 minutes to the job and makes a significant long-term difference.
Pre-Treatment: What Changes the Result
The most effective driveway cleaning involves pre-treating the surface before pressure washing, not just turning up and blasting water at it.
For organic growth (algae, moss, lichen), a biocide applied 15–30 minutes before cleaning kills the organism at the root. Dead organic matter is far easier to remove than live growth, which has roots anchored into the jointing sand. Pre-treatment means you need less pressure to achieve a clean result — which means less stress on the joints.
For oil stains — common around where vehicles are regularly parked — a degreaser applied before cleaning breaks down the oil and allows it to be lifted by the water. Pressure alone won’t shift embedded oil; the chemistry has to do the initial work.
Pressure Settings
Domestic pressure washers typically operate at 100–150 bar. Professional equipment runs higher, but the key isn’t raw pressure — it’s the combination of pressure, flow rate (measured in litres per minute), and the correct nozzle/attachment.
For block paving specifically:
- Too low: surface grime shifts but moss roots and jointing sand stay intact
- Too high at close range: surface etching on softer block types (particularly lighter coloured or cheaper concrete blocks)
- Correct: rotary surface cleaner at appropriate standoff distance, consistent overlap
Experience with different surface types is what determines the right settings. Older, more porous blocks need lower pressure than newer, denser ones. Sandstone and natural stone pavers need lower pressure still.
What About Sealing Afterwards?
Sealing block paving after cleaning is optional but extends the time between cleans. A quality block paving sealant:
- Hardens the jointing sand, making it more resistant to displacement in future
- Creates a surface barrier that algae and moss find harder to anchor to
- Protects against oil staining (the sealant holds the oil on the surface rather than letting it penetrate)
- Can enhance colour on decorative blocks
Sealant needs to be applied to completely dry paving — typically 24–48 hours after cleaning. It lasts 3–5 years depending on traffic levels and UV exposure.
Common Mistakes With DIY Pressure Washing
If you’re cleaning your own block paving driveway:
- Don’t use a lance — invest in or hire a rotary surface cleaner attachment
- Pre-treat before you start — biocide for organic growth, degreaser for oil
- Work in sections — rinse thoroughly as you go
- Dry before re-sanding — wait at least a day for the surface to dry; brush kiln-dried sand into the joints and compact it
- Don’t pressure wash in freezing temperatures — water in the joints expands as it freezes and can crack blocks
When to Call a Professional
DIY pressure washing is viable for maintenance cleans on a reasonably well-maintained driveway. Call a professional when:
- The driveway hasn’t been cleaned in several years and moss has taken hold in the joints
- Blocks are rocking or sunken — underlying issues need addressing before cleaning
- You want sealing done properly at the right time after cleaning
- The driveway has heavy oil contamination
- You have natural stone, sandstone, or any surface you’re unsure about
Block paving across Bath and Bristol is what we do day in, day out. Get in touch for a free quote — we’ll assess the surface, pre-treat appropriately, re-sand the joints, and leave it structurally maintained, not just surface-clean.